 |
Making title plates on bases |
To finalize and fully customize your model, you must give a name or title to your work. This personal touch will give added interest to the viewer, and can be an opportunity to add an originality, a pun, a dimension ...
Some different examples to make yourself.
Plate parchment style :
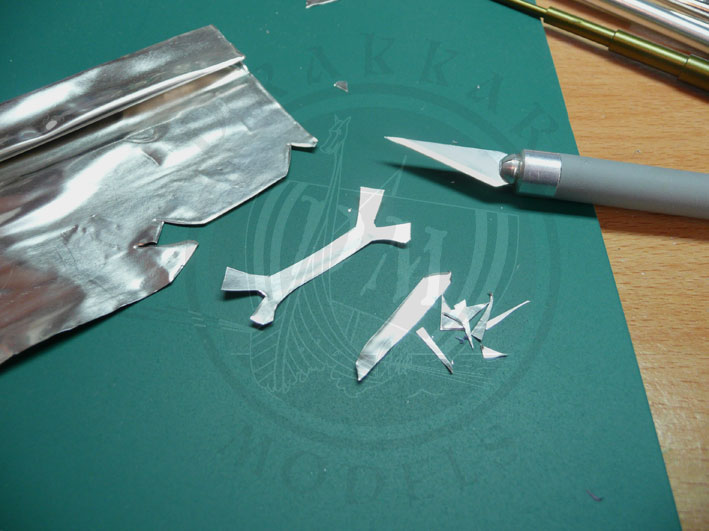
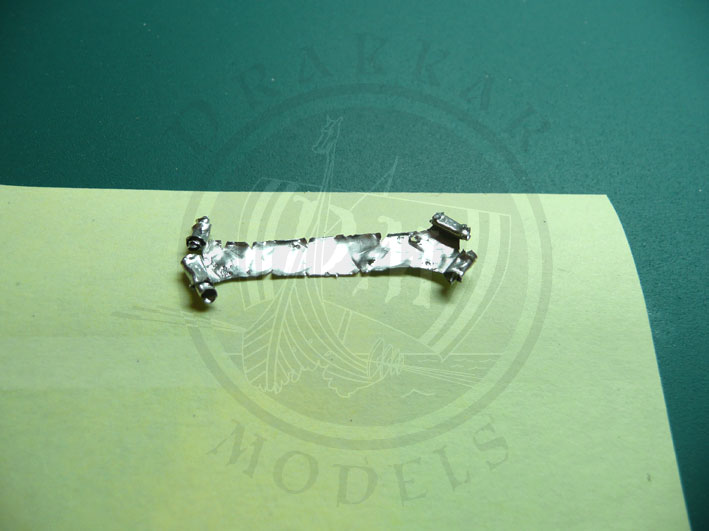
Cut with a scalpel a lead sheet (or aluminum, copper ...), taking care to create edges widening.
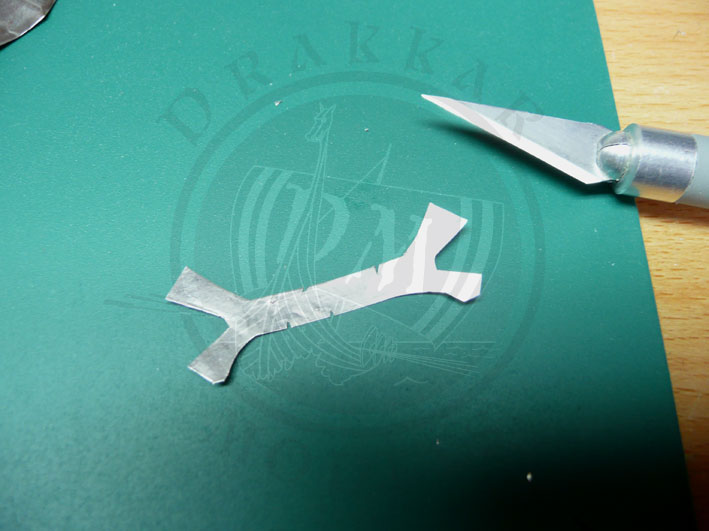
Make a few notches to "age" the paper.
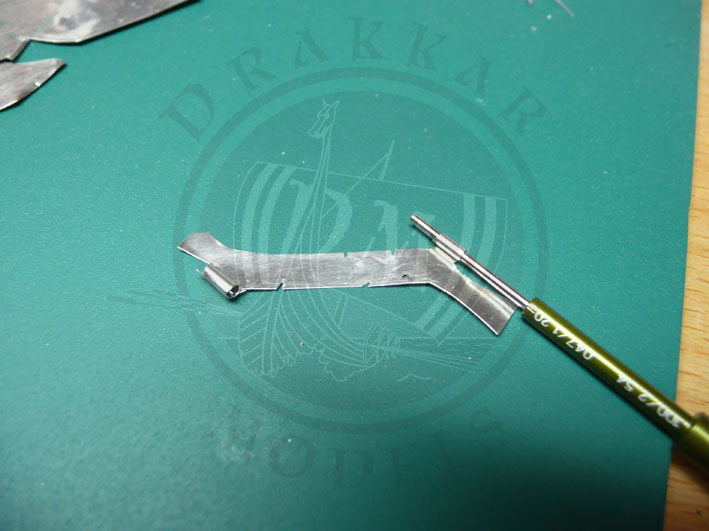
Wrap the ends around a rod.
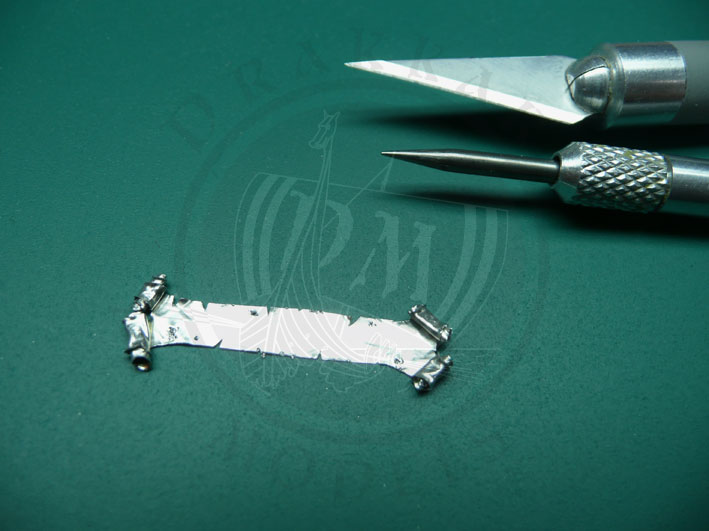
Form the parchment with a pin or a blade.

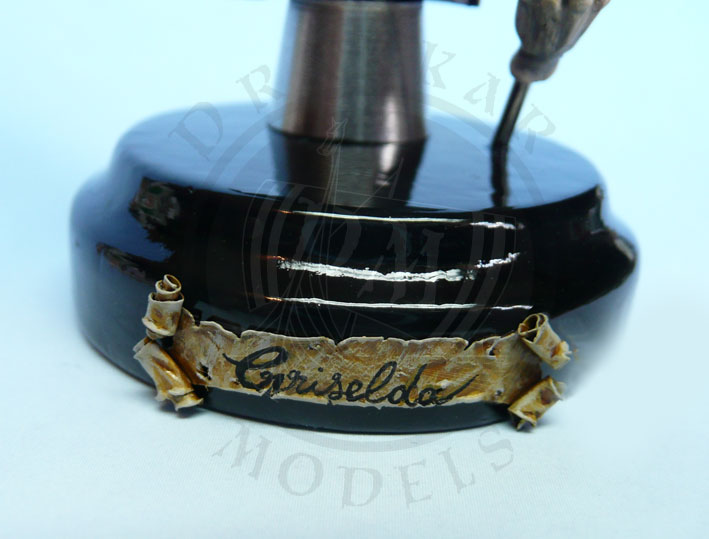
Then paint an undercoat (here with an airbrush).
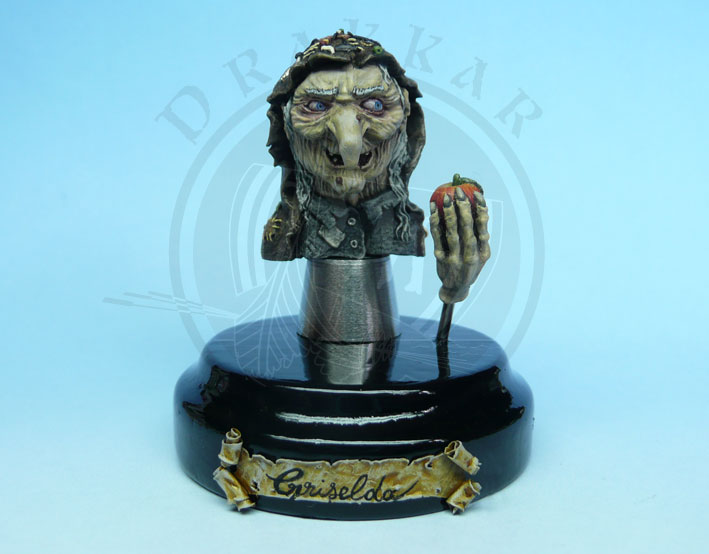
Once painting is complete, it remains only to stick the plate on the base :
Metal plate style :
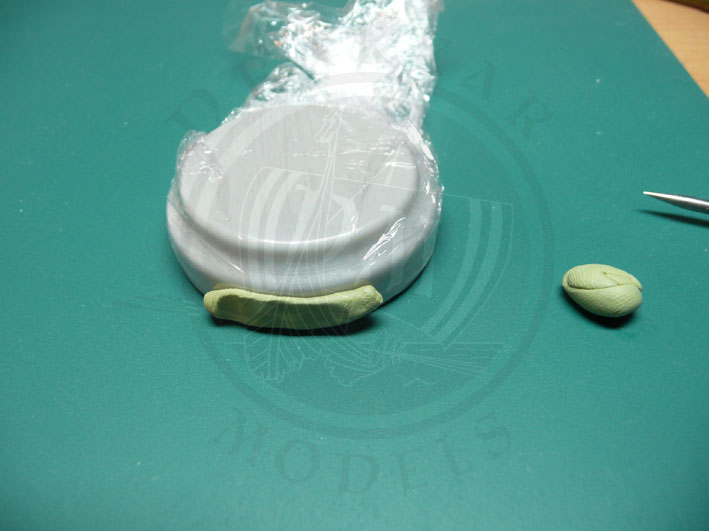
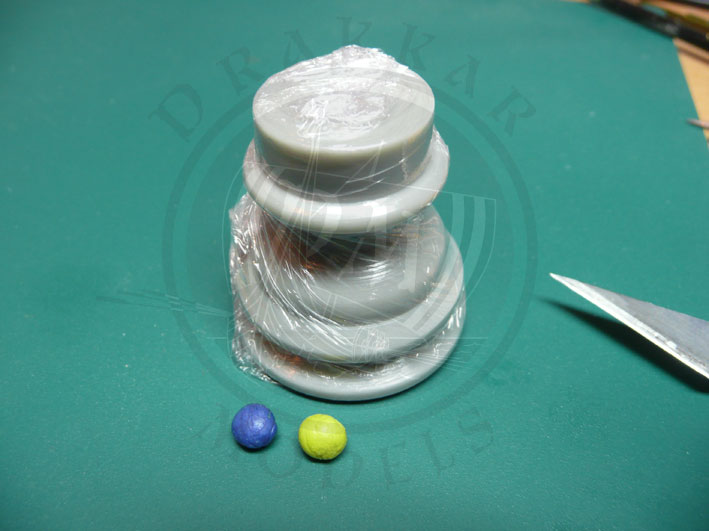
This plaque will be prepared with Milliput Yellow-Grey. Preparing two equal portions of putty before blending. To get the exact shape of the support, we will work directly on the base, therefore we will protect the base with a food packaging film.
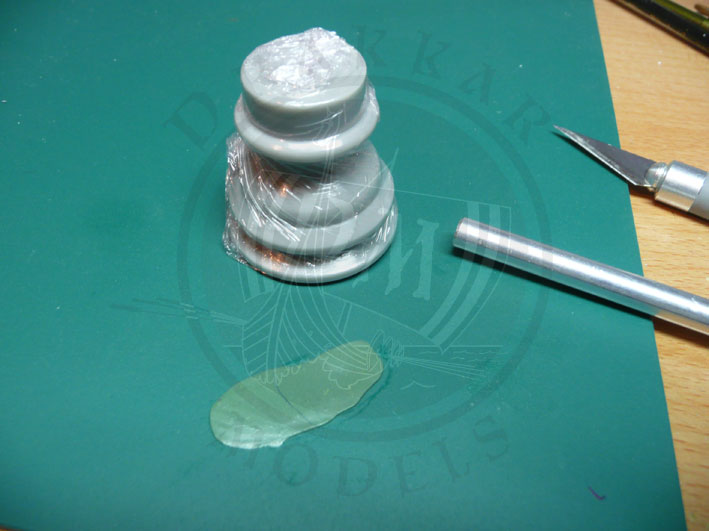
We begin to apply the putty and to give it his shape.
Allow to harden before removing the plate and the film.
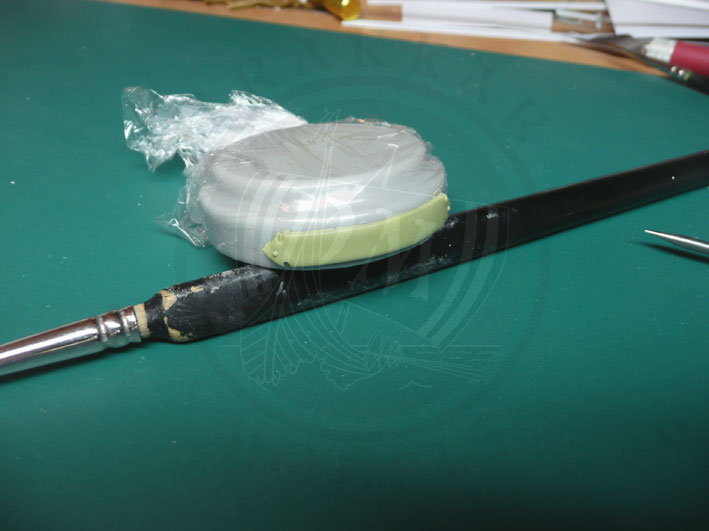
Everything will be painted separately and then glued.
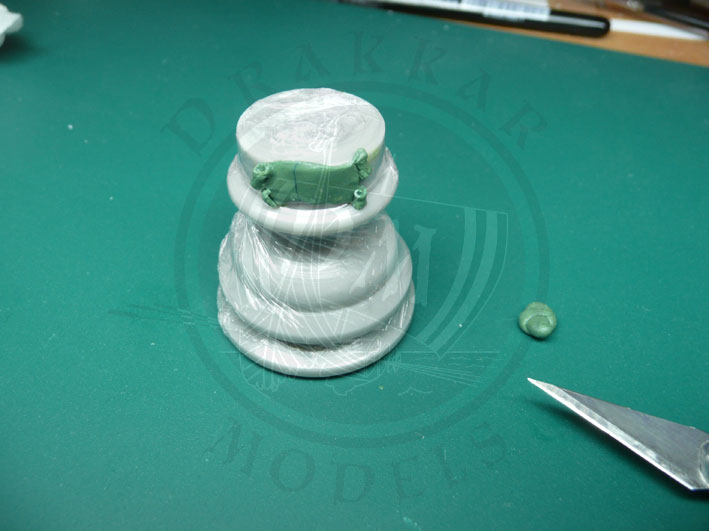
Parchment style plate (with putty) :
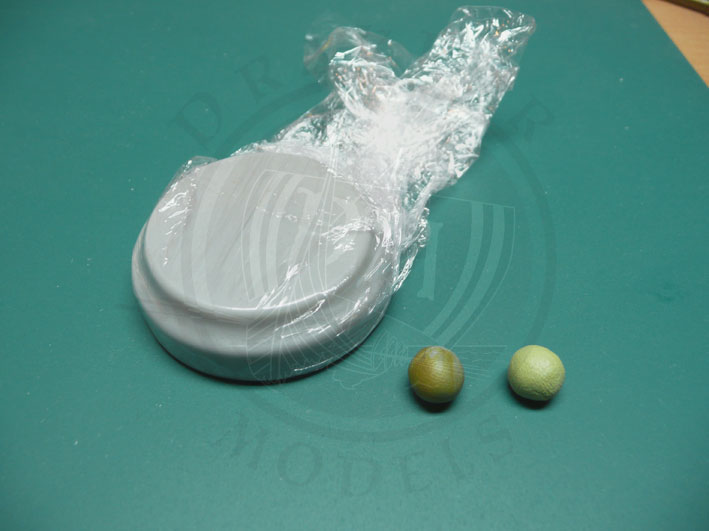
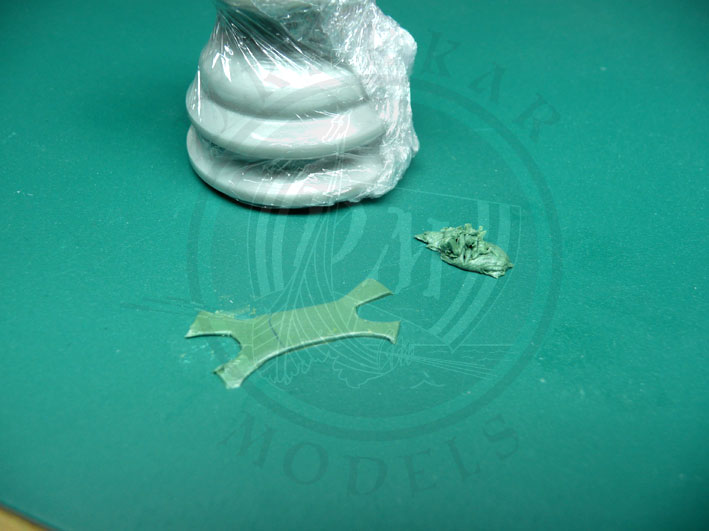
Another way to make a parchment with Duro putty. The base is protected with a food packaging film.
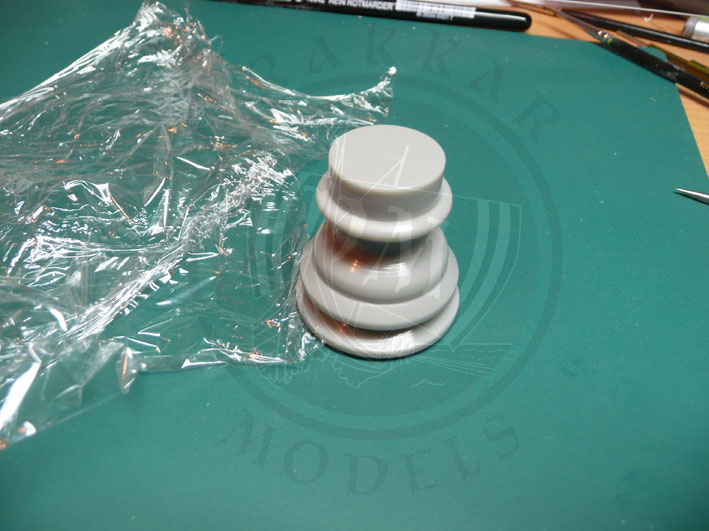
Two servings of Duro Sylmasta (Green Stuff) are prepared before mixing.
We spread the dough with a smooth round handle of a tool.
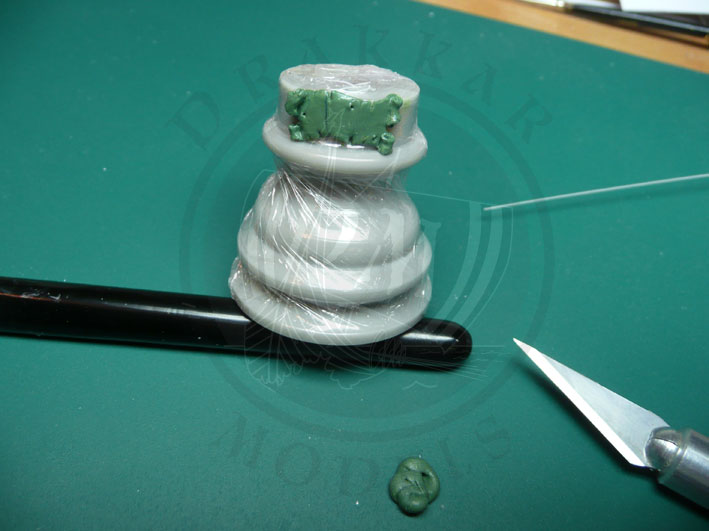
The shape is cut using a scalpel blade.
Wrap the edges inwardly.
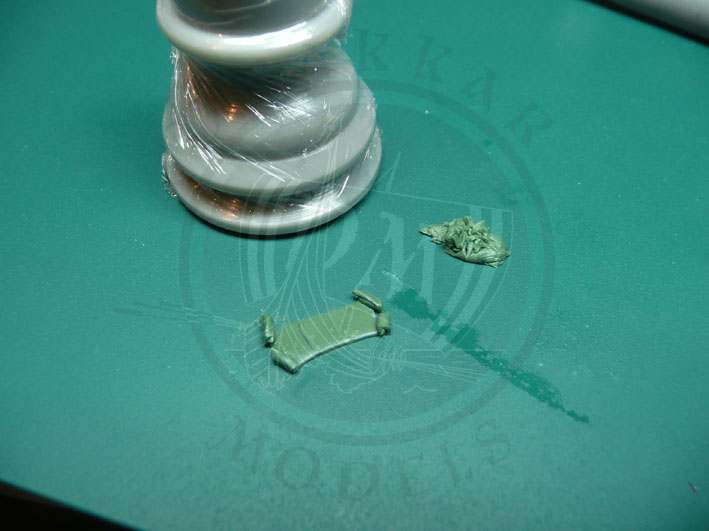
The parchment is applied on the base.
We work the details with a pin or a blade, then we allowed to harden.
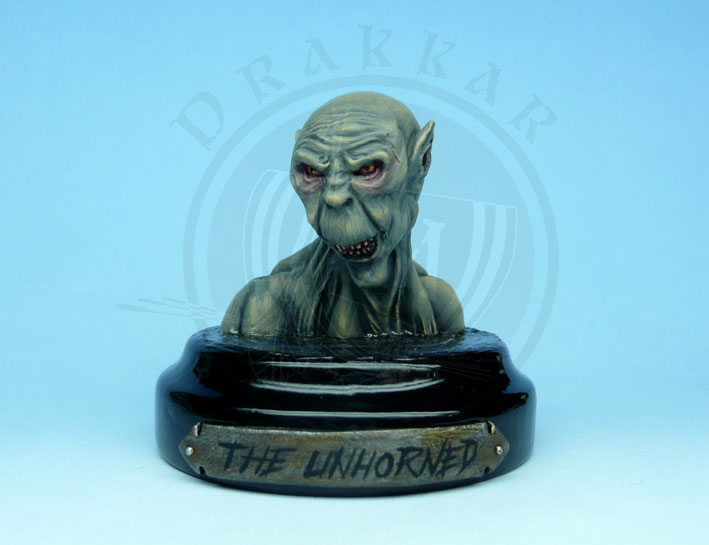
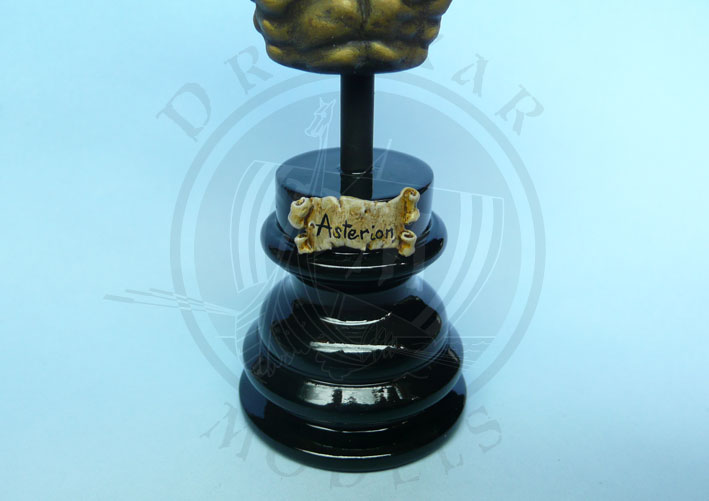
Once the base plate is painted, you can glue all together.
There are other ways to create plates, here are some other examples :
Here the title is create with a printer, then "glue" behind a Plexiglas plate with varnish :
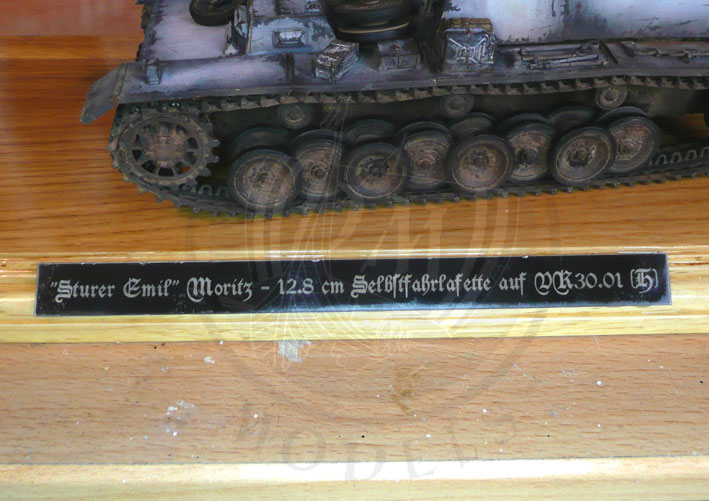
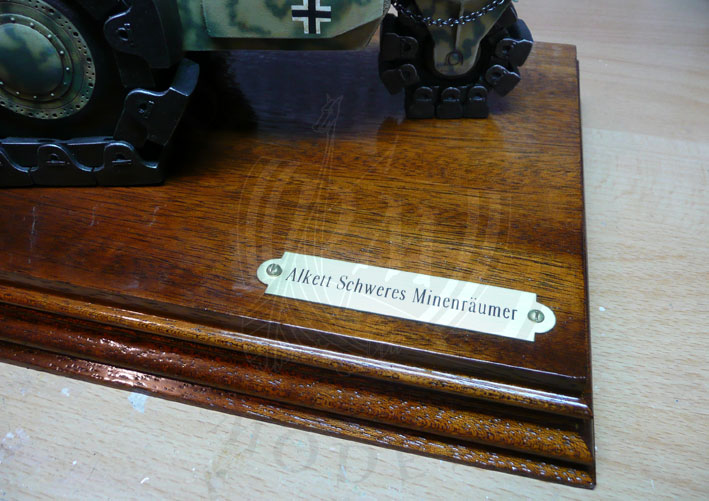
The next two examples show plates produced by thermal printer on plastic cards :
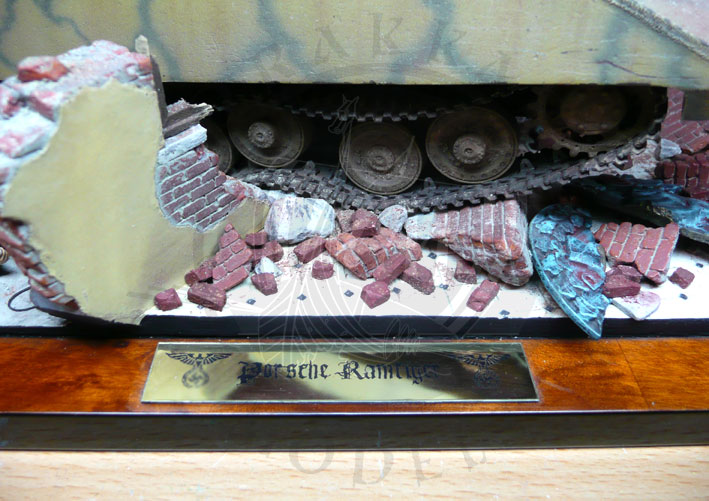
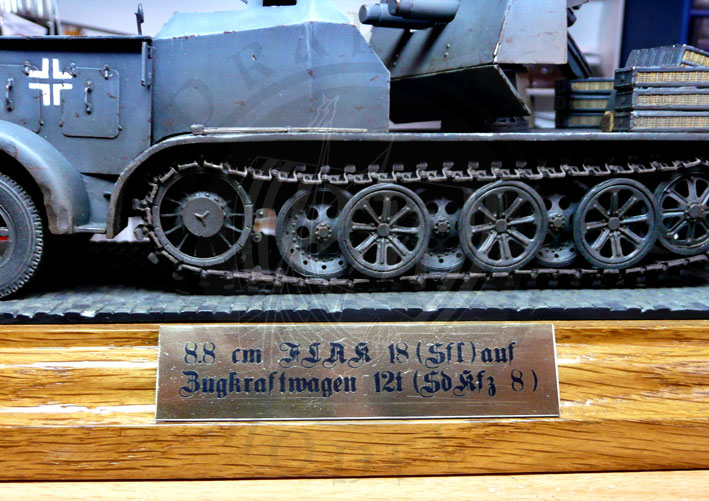
Here, the brass plates can be achieve by your shoemaker or a etching signs company :

Photos Drakkar Models Collection
|
|
|
 |
|
